A filling knife is a common tool used in decorating and DIY repair work, particularly for applying filler to small holes, cracks, or surface imperfections in walls, wood, or other materials. It has a thin, flexible blade designed to spread filler materials evenly and smoothly. But what happens if you don’t have a filling knife on hand? Whether you’re working on a quick patch job or a spontaneous DIY project, there are several practical alternatives you can use instead.
Here’s a look at what you can use instead of a filling knife, along with tips to get the best results from these makeshift tools.
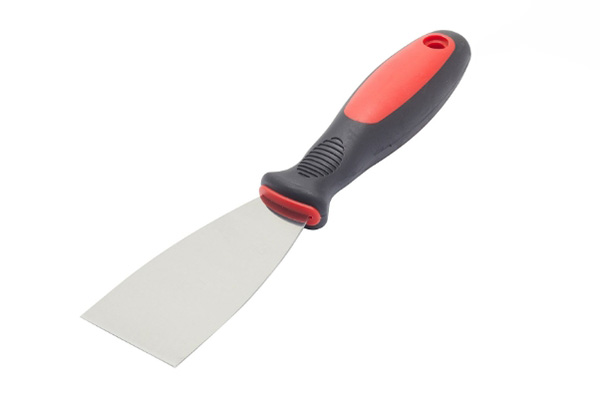
1. Putty Knife
The most obvious alternative is a putty knife. Although slightly thicker and stiffer than a filling knife, a putty knife can perform much the same function. In fact, some people use the terms interchangeably. The key difference is that filling knives are generally more flexible and better for fine, smooth finishing, while putty knives are a bit more rigid and robust—ideal for applying heavier materials.
Best use: Medium to large holes or imperfections where flexibility is less critical.
2. Plastic Spatula
A kitchen spatula (especially the flat, plastic type) can work surprisingly well in place of a filling knife. Its smooth edge can spread filler material efficiently, and its flexibility allows it to conform to curved or uneven surfaces.
Best use: Light to moderate filling jobs on plasterboard, wood, or painted surfaces.
Tip: Make sure the spatula is clean and not too soft. Avoid rubber spatulas as they may be too flexible or curved.
3. Old Credit Card or Store Card
One of the most popular DIY hacks is using an old credit card, gift card, or loyalty card as a makeshift filling knife. Its firm, straight edge and slight flexibility mimic the characteristics of a real filling knife.
Best use: Small cracks and nail holes in drywall or wood.
Tip: Use the flat edge for spreading and the corner to press filler into tighter spaces.
4. Butter Knife
A butter knife is a handy household substitute, especially if you’re dealing with a small patching task and don’t have any specialized tools nearby. While not flexible like a filling knife, it can still apply filler and smooth it out reasonably well.
Best use: Tiny holes or shallow dents.
Caution: Avoid using serrated knives or applying too much pressure, as this may scratch or gouge the surface.
5. Flexible Plastic Packaging
The edge of a yogurt lid, takeaway container, or similar plastic packaging can be cut and shaped into a DIY filling tool. While it’s certainly not professional-grade, it can work well in a pinch for smoothing filler or spackle over flat surfaces.
Best use: Quick fixes and budget-friendly solutions when no tools are available.
6. Your Fingers
In some cases, especially with soft fillers or caulking, your fingers can do the job. Using a gloved or dampened finger can help push filler into small holes and create a reasonably smooth finish.
Best use: Caulking around edges or filling tiny cracks.
Tip: Keep a damp cloth nearby to smooth and clean excess material as you go.
Finishing Tips for a Smooth Job
Regardless of the tool you choose, here are a few tips to ensure a clean result:
-
Apply filler in thin layers to avoid cracking and reduce drying time.
-
Feather the edges to blend the patch with the surrounding surface.
-
Sand after drying for a perfectly smooth finish.
-
Prime before painting to ensure even color absorption.
Conclusion
While a filling knife is the ideal tool for applying filler neatly and efficiently, you don’t have to abandon your DIY project if you don’t have one. Household items like putty knives, plastic cards, spatulas, and even butter knives can act as effective substitutes in many cases. The key is to choose an alternative that suits the size and nature of your repair and to apply filler carefully and patiently.
With a little creativity and care, you can still achieve a professional-looking finish—even without the perfect tool in hand.
Post time: May-15-2025