When installing ceramic or porcelain tiles, one of the most important decisions you’ll make is choosing the right trowel size. The size and shape of the notches on your trowel determine how much adhesive is spread beneath each tile—directly affecting how well your tiles bond to the surface and how even the finished floor or wall appears. For 8mm thick tiles, the correct trowel size is crucial to achieving a durable and professional-quality installation.
So, what size trowel should you use for 8mm tile? Let’s take a closer look at the details.
Understanding Trowel Notch Sizes
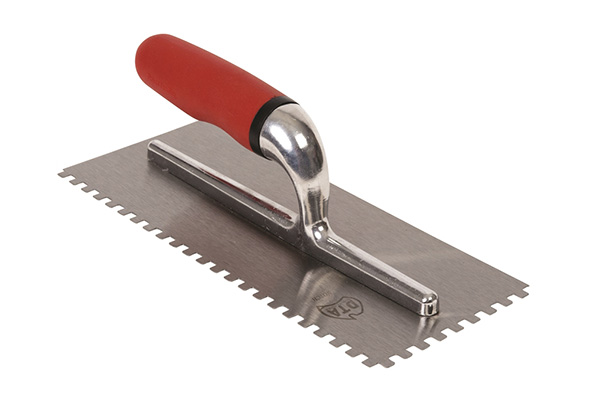
Trowels used in tile installation are generally notched, which means they have grooves or teeth that control how much adhesive is applied. These notches are measured in millimeters or inches and can be either square, U-shaped, or V-shaped.
The notch size of a trowel is described using two numbers: the width and depth of each notch. For example, a 6mm x 6mm square notch trowel spreads thinset adhesive in lines that are 6mm wide and 6mm deep.
Recommended Trowel Size for 8mm Tile
For 8mm thick tiles, which are generally considered medium-sized wall or floor tiles, the most commonly recommended trowel sizes are:
-
6mm x 6mm square notch trowel
-
10mm x 10mm square notch trowel (for larger tiles or uneven surfaces)
A 6mm trowel usually provides sufficient adhesive coverage for standard installations on smooth, level surfaces. However, if the tiles are larger in size (e.g., 300x300mm or more) or the substrate has some irregularities, you may need to upgrade to a 10mm trowel to ensure full coverage beneath the tile.
Factors That Affect Trowel Size Selection
1. Tile Size
While thickness is important, the overall size of the tile also matters. An 8mm tile that’s 100x100mm might need less adhesive than an 8mm tile that’s 600x600mm. The larger the tile, the more thinset you’ll need to spread evenly underneath it.
2. Substrate Flatness
If you’re tiling on a surface that isn’t perfectly flat, a larger notch (such as 10mm) helps fill in gaps and ensures better contact between the tile and adhesive. Conversely, smooth and flat surfaces can be tiled with smaller notches.
3. Tile Backing
Tiles with deep ridges or grooves on the back may require more adhesive, warranting a larger trowel. Always inspect the tile’s back profile before choosing your trowel.
4. Application Area
Floor tiles generally require more adhesive than wall tiles due to the weight and pressure they must support. Therefore, even for 8mm tiles, you might opt for a slightly larger trowel for floors.
Checking for Proper Coverage
Regardless of trowel size, your goal should be to achieve at least 80–100% coverage of thinset on the back of each tile:
-
80% for standard residential applications
-
95–100% for wet areas like showers or outdoor installations
To check coverage:
-
Place the tile in position and press firmly.
-
Lift the tile to see how much adhesive has transferred.
-
If the coverage is too low, switch to a larger notch trowel.
Final Tips
-
Use the flat side of the trowel to spread a thin layer of adhesive on the surface (a process known as “burning in”).
-
Then use the notched side to comb lines into the adhesive.
-
For large or heavy tiles, consider “back buttering” them—spreading a thin layer of thinset directly onto the tile back for better contact.
Conclusion
For 8mm tiles, a 6mm x 6mm square notch trowel is generally the best starting point. However, factors such as tile size, substrate condition, and installation location may lead you to choose a 10mm trowel instead. The key is ensuring full and even adhesive coverage to prevent tile movement, hollow spots, and premature failure. By selecting the correct trowel size, you set yourself up for a successful, lasting tile installation.
Post time: May-22-2025